I have been hoarding tiny scraps of wood, leftover paint pots, and a ridiculous collection of brass screws because I refuse to spend a fortune on cute door bling – so if you are searching for name plates for home DIY on a budget, welcome, you’re in the right place. I started making my own name plates after moving into my first apartment and realizing nothing in those sad IKEA boxes said “home” to me, so I taught myself to stencil, sand, and love every little imperfection.
This article exists because I know how good it feels to have a small piece of personality added to your front door, shelf edge, or spice jar without emptying your bank account, and I want to share easy ideas that actually look intentional instead of “rushed craft.” I tested most of these on real surfaces – some worked perfectly, some needed a second coat, and honestly one is still a little crooked, which I kind of love.
Below you’ll find six practical, affordable, and creative name plate DIYs you can tackle this weekend with stuff from the dollar store and a bit of patience – plus tips to personalize them so they feel like yours. Let’s make something pretty, useful, and cheap together.
These 6 Name Plate DIYs for Home on a Budget You’ll Want to Try
Floral Paper Labels
Paper labels are the easiest gateway craft for name plates and this floral option from the pin is basically proof you don’t need expensive materials to get a delicate, handmade vibe; you can print patterns or hand-draw flowers like the one pictured, then laminate or mount on thin cardboard for durability. I remember sitting at my kitchen counter with a cup of tea and a stack of scrapbooking paper thinking “this will be quick” and then happily losing an afternoon to tiny brushes and gold paint accents – and no one complained. If you’re labeling jars, craft bins, or gifting a set, glue a small magnet to the back and suddenly they stick to fridges or metal shelves, which is what I did for my baking corner and it makes me smile every time I reach for the spice rack.
Pizza Board Plaque
Turning a pizza or charcuterie board into a door plate is such a clever upcycle – the wood already has character and a bit of heft so it looks intentional rather than temporary, and you can burn, paint, or stencil a name directly onto the board. I used a $6 paddle I found at a flea market and it became my houseplant shelf sign after a quick sanding and one coat of matte sealer, and honestly guests ask where I bought it which feels like a win. If you want to keep costs down, look for thrifted wooden boards or even smooth cutting boards, then sand the edges and use a simple serif stencil for a clean look that doesn’t scream “DIY”, which is sometimes the vibe I’m going for.
Wood & Metal Mixed Plate
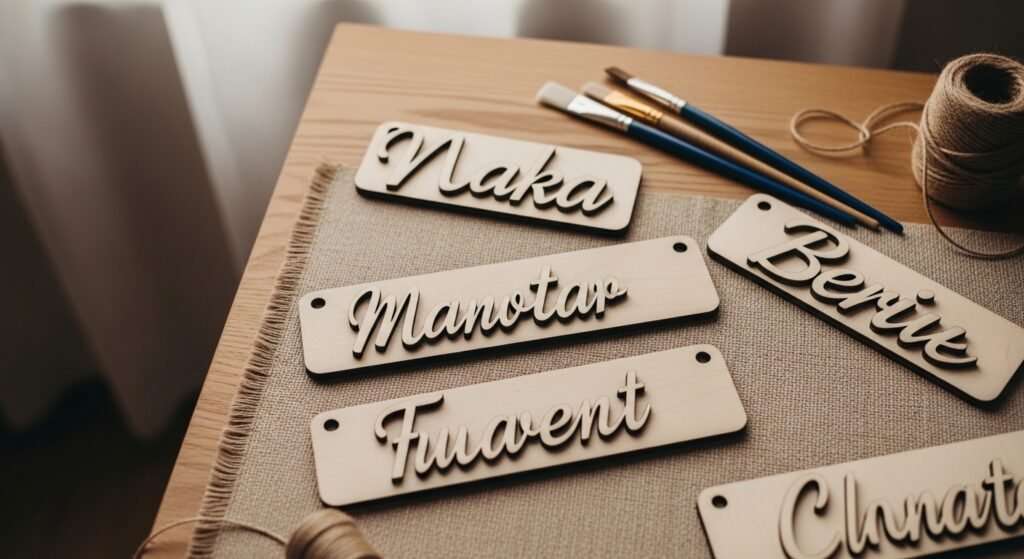
Combining a thin metal tag with a wooden base gives your name plate that boutique-shop energy without the boutique price – a little brass rectangle glued to a board or mounted with tiny screws reads luxe but is really a simple two-material project anyone can do with basic tools. I had a small heart attack the first time I tried drilling pilot holes for tiny screws on a thin scrap of wood, but once I slowed down and used tape to prevent splintering, the result looked like something I’d pay for in a cute cafe. Try patina paints on the metal for an antiqued touch or use a clear epoxy dot to protect stamped letters if you plan to put the plate near an entry where hands touch it a lot.
Sleek Black Acrylic Tag
Acrylic tags bring a modern, minimalist look and you can make them on a budget by trimming larger sheets down and using a gold paint pen for lettering; the contrast between matte black and pale letters is super chic and fits in almost any decor. I ordered a small sheet of black acrylic online for less than the price of one fancy tag from a store, and once I learned to use a crayon wax technique to transfer my handwriting, I made a set for shelves and the front door – the neighbors noticed, which is slightly embarrassing but also flattering. If cutting acrylic feels intimidating, many craft stores will cut to size for you, which saved me the first time when I didn’t trust my hands with a jigsaw.
Playful Painted Plaque
Painted plaques let you add personality – faces, little scenes, or childlike touches – and this pin’s playful vibe makes me want to make one for a kids’ bedroom or a front entry that winks at passersby; use acrylic paints on a primed wood rectangle and seal it so it survives a rainy porch. My first painted plaque had wobbly letters and a lopsided sun, and instead of hiding it I hung it proudly because it felt like a snapshot of a messy, happy weekend; someone complimented it which made me beam. You can mimic that carefree charm by deliberately keeping brushstrokes visible and choosing a color palette that matches the rest of your decor so it reads intentional, not accidental.
Hand-Painted Floral Tag
If you love painting but don’t want a huge project, a small hand-painted floral name plate on thick watercolor paper or a wood tile is charming and affordable; try gouache for vibrant matte color or acrylic for quick drying and durability, then attach baker’s twine or a little brass hook for hanging. I taught my friend to make one in an evening and she was shocked how soothing it was to mix tiny flower petals and then see a functional piece emerge – we drank too much coffee and laughed about our terrible first stems, but kept going until everything looked sweet and a little imperfect. These are also perfect as personalized gift tags for housewarming presents, and you can write a tiny message on the back which makes receiving them a little moment of joy.
How to Actually Make This Work For You
Start by thinking about where the name plate will live, what texture and color will complement that space, and what materials you already have so you don’t buy unnecessary supplies, and remember small fixes like sanding or sealer can make a cheap find look expensive once you put in a little time. If you’re unsure about lettering, practice on scrap material or print a template to trace, and don’t be afraid to embrace slight wonkiness – it often reads handmade and warm rather than sloppy. Lastly, test any outdoor finishes on a spare piece before you commit, because humidity and sun can change how paints and adhesives behave over time and I learned that the hard way with a porch sign that peeled a month after I hung it.
What tools do I really need for these DIY name plates?
Basic tools like sandpaper, a small paintbrush set, a pencil, scissors, and a glue gun will cover most projects; if you want cleaner edges, a hobby saw or a craft cutter helps but is optional. You can substitute with thrifted items and ask hardware stores to cut down wood or acrylic for you if you don’t own power tools.
How do I protect a name plate used outside?
Use an outdoor-friendly sealer or polyurethane for wood and a UV-protective spray for painted surfaces, and choose rust-resistant hardware if you need screws or hooks. Also consider placing the plate under a porch or awning to reduce direct weather exposure which extends its life a lot.
Can I personalize these without great handwriting?
Absolutely – print fonts you love, transfer them with graphite or use stencil letters and paint pens for a clean look; sticker vinyl is another great option for crisp names. I often print a font I like, trace it, and then go over it with a paint pen to get that handwritten charm without the anxiety.
Where can I find inexpensive materials?
Thrift stores, dollar stores, discount craft outlets, and flea markets are gold mines for boards, knobs, and bits of metal; leftover samples from hardware stores like paint swatches or scrap wood are also useful. Don’t overlook online marketplaces where people give away scrap wood or small craft supplies for free or cheap – I scored a box of offcuts once and it lasted for a whole season of projects.