I have been obsessing over name plates for home DIY ideas lately – they are such a tiny detail that somehow makes a space feel like yours, you know? I started making a few for our hallway because my roommate kept mixing up the mail, and suddenly everything felt cozier.
This post exists because there are so many cute ways to label a space without buying generic stuff from big stores, and I wanted to try them all (totally channeling my inner craft nerd here). I’ve tested a handful in a tiny apartment and also helped my sister make a set for her new studio – spoiler, she cried, in a good way.
Below you’ll find six real, small-space friendly name plate ideas with super practical notes – I promise you’ll leave with a bunch of creative options and a little push to try one tonight.
6 Tiny Name Plate DIYs You’ll Actually Try
Pressed Florals on Paper
Okay, I adore pressed flowers and this one feels like spring tucked into a tiny frame; it’s perfect for a bedroom door or a floating shelf label. I remember smashing dandelions between books as a kid – this is like a grown-up, pretty version of that, and it’s so lightweight that even tacky putty works to hang it in a dorm. If you like delicate things, you’ll love how the paper texture and petals add personality without taking up space.
Mini Wooden Pizza Board Tag
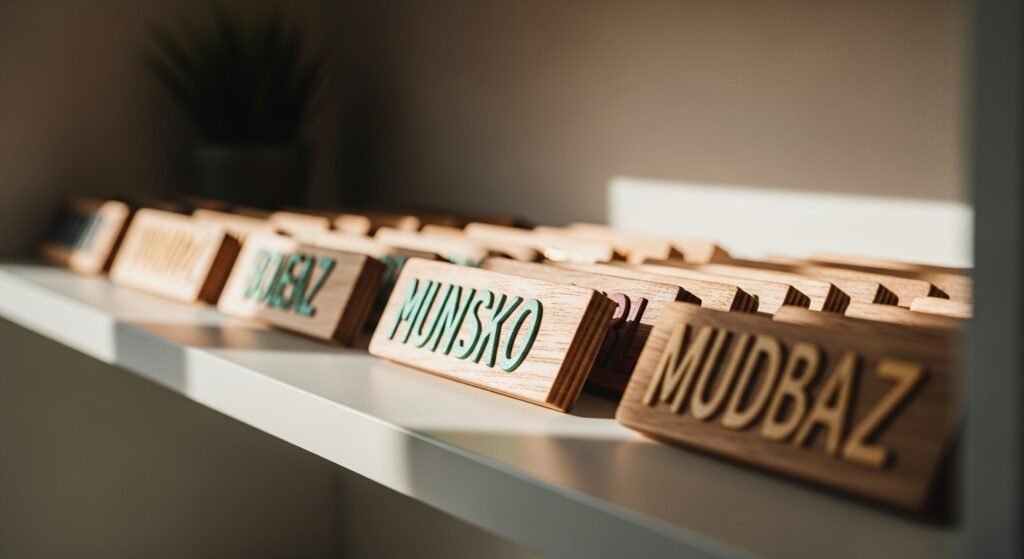
This one uses a small wooden board – think of a mini charcuterie paddle – with a fun name burned or painted on it, and it doubles as a cute wall hook accent in a kitchen nook. I tried lettering freehand once and let’s just say the results were charmingly imperfect, so I ended up using a stencil and some light sanding to make it feel handmade but neat. If you host pizza night, you could even write quirky titles like “Head Pizza Slicer” – tiny details, huge smiles.
Studio-Style Mixed Materials
This idea mixes wood and metal accents for a slightly industrial vibe that still reads small-space friendly because everything stays slim and wall-mounted. I tried something like this in my tiny craft corner and loved how the metal gave a modern edge while the wood kept it warm – plus it’s sturdy, so no drooping after a month. If you’re into making things in a little mess of tools (guilty), this one feels like a legit craft project, not just sticker-and-go.
Minimal Black Box Plate
This sleek black rectangle is basically the elegant cousin of a name plate – simple, bold lettering, and it fits perfectly above doors or on tiny shelves where you want a contrast pop. I installed one outside my home office and it made the doorway feel official, like “yeah, work happens here,” which cracked me up because it’s so dramatic for a small apartment. Pro tip: matte paint hides fingerprints, which I learned the hard way after smudging mine twice.
Whimsical Building Clock Face Label
This is a playful take – imagine a tiny plate inspired by an old building clock or mural, with a little illustration or painted faces beside the name; it’s perfect for a kid’s room or funky hallway. I made a mock version for a friend’s nursery and we laughed so much picking out which painted face looked like who – she swore one looked like her dad, and honestly, it did. If you want character over perfection, this will be your jam.
Painted Floral Brush Strokes
Simple brush strokes and a tiny painted name on cardstock or thin wood give such an artsy, effortless look – it photographs beautifully and doesn’t crowd a shelf. I tried a few color combos and kept getting distracted rearranging frames like a crazy person, but the process was so relaxing; you can do quick practice strokes and keep the rest imperfect. If you’re the type who likes creative experiments with minimal commitment, this is a lovely, forgiving option.
How to Actually Make This Work For You
Pick one approach that matches your home’s vibe – if your place leans Scandinavian, go minimal and matte; if you love vintage, try pressed florals or a tiny painted mural, and if you’re into modern craft, mix wood and metal for that studio look. Measure the exact spot where the name plate will go before you start – I once finished a perfect little plaque only to find it was too tall for the shelf gap, ugh, lesson learned – and use removable adhesive hooks or picture hanging strips in rentals so nothing gets damaged. Finally, embrace small imperfections because handmade charm is literally half the point, so keep tools basic, test on scrap materials, and enjoy the process instead of chasing perfection.
What materials do I need for a beginner name plate?
Start with basic supplies: thin wood or sturdy cardstock, acrylic paint or a paint pen, sandpaper, and small hanging hardware or adhesive strips. You can pick up a mini pyrography tool if you want burned lettering, but paint and stencils work beautifully for beginners and are way less intimidating.
How do I attach name plates without damaging walls?
Use removable picture hanging strips, tacky putty for very light plates, or small adhesive hooks rated for your plate’s weight; these are renter-friendly and easy to remove. If you have permission to drill, tiny screws and wall anchors give the most secure hold for heavier pieces.
Can name plates be made kid-safe for a nursery?
Absolutely – use non-toxic paints and sealants, round edges on wood, and keep anything small or detachable out of reach. Mount the plate securely and opt for lightweight materials like thick foam board or sealed cardstock to reduce risk.
How do I make a name plate that matches my decor?
Pull one or two colors from your room and use them as accents on the plate, choose finishes that echo existing hardware like matte black or brass, and keep scale in mind so the plate doesn’t overwhelm small spaces. If in doubt, test a small painted sample against the wall first – I always do this and it saves me redoing things later.