I’ve been obsessed with wall paneling DIY ideas ever since I painted my tiny studio last spring – it’s amazing what a bit of trim and texture can do. I still remember staring at a blank drywall wall and thinking, “This needs personality,” and that’s where my mad love for molding and panels began.
I put together this list because small spaces deserve big style without breaking the bank – I’ve tried, failed, and learned a lot so you don’t have to repeat every oops moment. After sanding, staining, and a few late-night glue gun saves, I’ve collected projects that are actually doable for folks with basic tools.
You’ll get 13 totally achievable wall paneling DIY ideas, quick tips on what tools to grab, and friendly encouragement so you can pick one and start tomorrow – pinky promise.
13 Small Space Wall Paneling DIY Ideas You’ll Love
Simple Painted Planks
These white planks are classic and so forgiving if you’re learning how to measure and cut – I used leftover trim from another project and it saved me a trip to the store. You can lay them horizontally for a cottage vibe or vertically to make ceilings feel taller. Quick tip – green painter’s tape in the photo? Lifesaver for clean lines, trust me. I once installed a plank backwards and found out only after painting – sigh.
Wallpaper Base, Wood Trim
This idea uses wallpaper as a backdrop with wood trim to create panels – it’s ideal if you love pattern but want structure. I used a textured grasscloth once and it hid a lot of wall flaws, which felt like magic. If you’re nervous about wallpaper, start with a small accent wall so you don’t commit to the whole room during a late-night decision.
Bold Blue Accent Wall
Dark blue paneling is dramatic but cozy – I painted a small living room wall similar to this and it made our plants pop. Try pairing with light wood floors and simple vases like in the image for a balanced look. Sometimes I stand in front of it and feel like I’ve got a boutique apartment – small wins, big mood.
Striped Trim Detail
Stripe-like trim adds subtle texture near a bed – perfect for a rental-friendly upgrade if you can use removable trim or paint. I actually installed a low-profile lamp similar to this and it felt so designer, even though it was pretty DIY. If you’re aiming for symmetry, measure twice and breathe – patience helps.
Clean White Trim Bench
This crisp white trim with a wooden bench below is the coziest entryway hack for tiny apartments – I made a bench like this from an old coffee table, honestly. It’s practical for putting shoes on and gives instant depth to a plain wall. One of my friends used salvaged molding to get the same look for almost nothing, so don’t toss good scraps.
Fresh Painted Prep
Seeing walls mid-paint is oddly encouraging – it means progress, even when it looks messy. I keep a small roller and trim brush ready for touch-ups because edges always need love. Side note – I spilled a tiny paint blob once and now it’s a “character mark” I laugh about.
Peg Art Display Wall
This DIY with pegs is both art-friendly and functional – perfect for rotating prints or plants. I used pegs in my craft corner to hang supplies and it saved so much drawer space; you’ll love having everything visible. If you’re into changing things often, this is a flexible option you’ll use every week.
Wood Plank Plant Wall
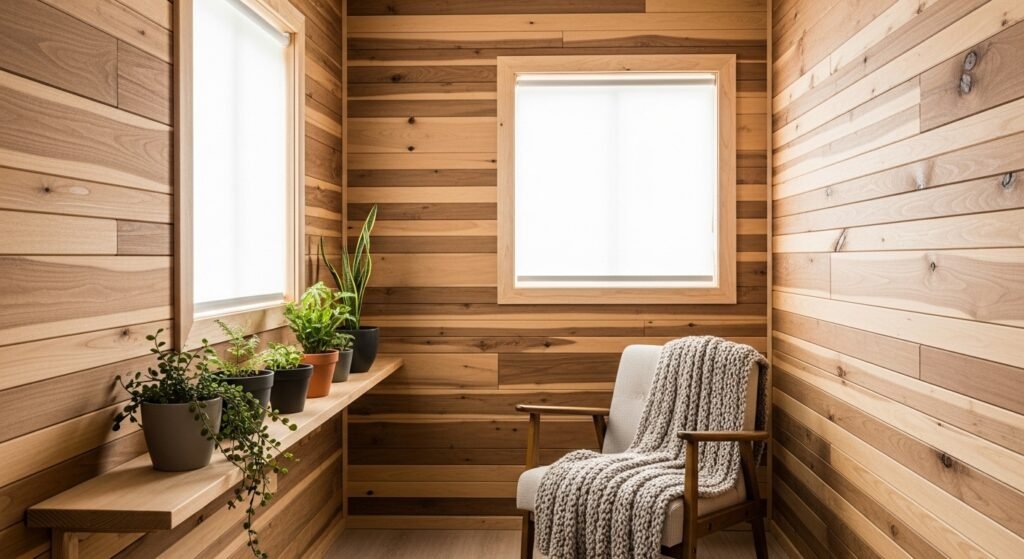
A vertical wooden wall with shelves for plants creates an instant living feature – I once stacked succulents and herbs on a tiny panel and it smelled heavenly. Try pairing round chairs and a small table to make a calm breakfast nook. You don’t need a green thumb to start – easy plants like pothos are forgiving.
Rustic Stacked Boards
Stacked boards give a reclaimed, textural look without a huge budget. I sourced uneven planks once from a neighbor – bit of a treasure hunt but worth it for the character. Plan on sanding and sealing if you want to avoid splinters; otherwise, embrace the imperfect edges.
Classic Wood Panel Living
Traditional wood paneling can feel modern with the right decor – I added low-profile vases and a light rug and it immediately read fresh. If you’re worried about making a room feel dark, go for lighter stains or paint the panels white. I’ll confess I once painted over a deep stain because it felt too heavy – instant update.
Cardboard Mockup Hack
Using stacked cardboard is an excellent mockup technique before you cut real wood – I sketch and tape shapes to the wall to test proportions. You can move pieces around easily and see how shadows fall without spending money. This saved me from committing to a pattern that would’ve annoyed me forever.
Colorful Mid-Century Corner
A pop of color with paneling can make a tiny corner feel like a design statement – I tried orange accents once and it cheered me up every morning. Pair with vintage furniture and you’ve got a mid-century vibe in a weekend. If you’re on the fence, paint a small panel first so you don’t regret a full-wall commitment.
How to Actually Make This Work For You
Start by measuring your wall and picking one small area to test – smaller wins build momentum, and you’ll learn how much caulk, paint, or sanding you actually enjoy doing. If you’re short on tools, buy or borrow a simple miter saw and a brad nailer for cleaner edges – otherwise, clamps, wood glue, and patience will still get you there. Think about the room’s light – darker panels read dramatic in soft light but can shrink a room, so try painting a scrap first in the same light at different times of day. Finally, don’t be afraid to mix finishes – a painted panel with a natural-wood shelf can look intentional even if it started as a salvage project.
Do I need professional skills to try these?
No – most of these ideas are beginner-friendly if you follow basic measuring and safety steps. Start small, watch a couple of tutorials, and practice with cardboard or scrap wood before doing the final wall.
What are the must-have tools?
A tape measure, level, stud finder, miter saw or hand saw, brad nailer or finishing nails, wood filler, and paint supplies cover most projects. You can rent power tools if you don’t want to buy them up front, which I did twice.
How much will it cost?
Costs vary – simple trim projects can be under $100 using MDF and paint, while full reclaimed wood walls or custom panels may run several hundred. Thrift stores, off-cuts, and sales cut costs dramatically, and DIY labor is the real savings.
Can I do this in a rental?
Yes – consider removable panels, peel-and-stick molding, or lightweight installations attached with command strips or removable adhesive. Always check your lease and avoid permanent damage if you’ll be moving soon.