Okay, so you clicked because “home design diy on a budget” sounded like something you actually need right now – same. I have a tiny apartment, a borderline unhealthy love for paint swatches, and a wallet that prefers thrift stores.
I put together these 15 ideas after a summer of trial-and-error projects, lots of music, and one very stubborn can of primer that refused to dry. I learned the hard way what works, what looks good in photos, and what still looks good after my cat decided to help.
Stick around and you’ll get doable projects, realistic tips, and the kind of encouragement I’d give my best friend – practical, a little messy, but totally worth it.
15 Home Design DIY On A Budget Ideas You’ll Actually Try
Doorway Plant Refresh
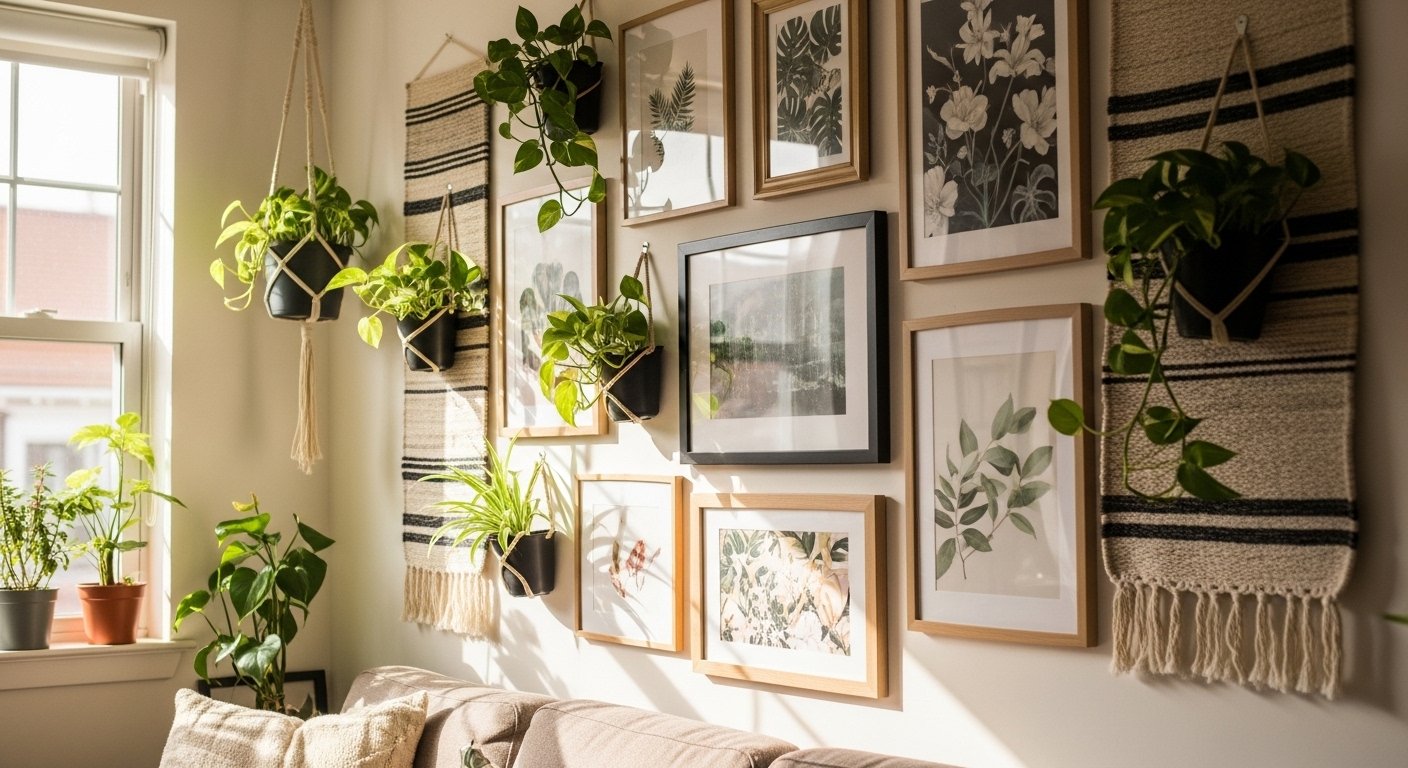
I love the idea of styling a doorway with plants because it’s instant personality without ripping anything out. You can repurpose an old shelf or hang a couple of pots at different heights – I once balanced a fern on a stool for a week before finding a better home. Try to use mismatched pots for that collected-over-time vibe; it reads expensive when it really isn’t.
Painted Radiator Pop
Giving a radiator a bold color is a tiny risk that pays off big time – think green or soft pink to make it a feature, not an afterthought. I painted ours with heat-resistant paint and it instantly brightened the room, though I did spill a drop on the floor (oops) so tape everything carefully. If you want to be bold but not permanent, try peel-and-stick panels behind it.
Platform Bed Hack
Building a minimalist platform bed from basic lumber is surprisingly doable and it saves you from buying an expensive frame. I built mine in a weekend with a friend – we had one miscut board, but honestly it gave the bed character. Add under-bed storage boxes and suddenly your tiny bedroom breathes easier.
Towel Ladder Closet Idea
A simple leaning towel ladder or clothes rack can replace a bulky cabinet and keeps things breathable and pretty-looking. I installed one next to my wardrobe and it became the easiest way to flaunt a towel or two – also great when guests visit. Pro tip: sand the top rung a bit so it doesn’t snag delicate fabrics.
Refinish Floor Boost
Sanding and restaining a small patch of floor can make an old space feel new without the cost of full refinishing. I tackled the hallway and it was messy but so satisfying – you will feel proud after one afternoon. If sanding sounds scary, try a darker wood stain on furniture to mimic that refreshed-floor look.
Radiator Relocation Trick
Moving or floating a radiator cover gives you a chance to add a shelf or display space – kind of like a built-in console. I helped a friend lift theirs and we used the space above for plants; we were both cursing at first, then celebrating coffee later. If moving isn’t possible, a DIY cover with a top shelf works wonders.
Blank Wall Question Mark
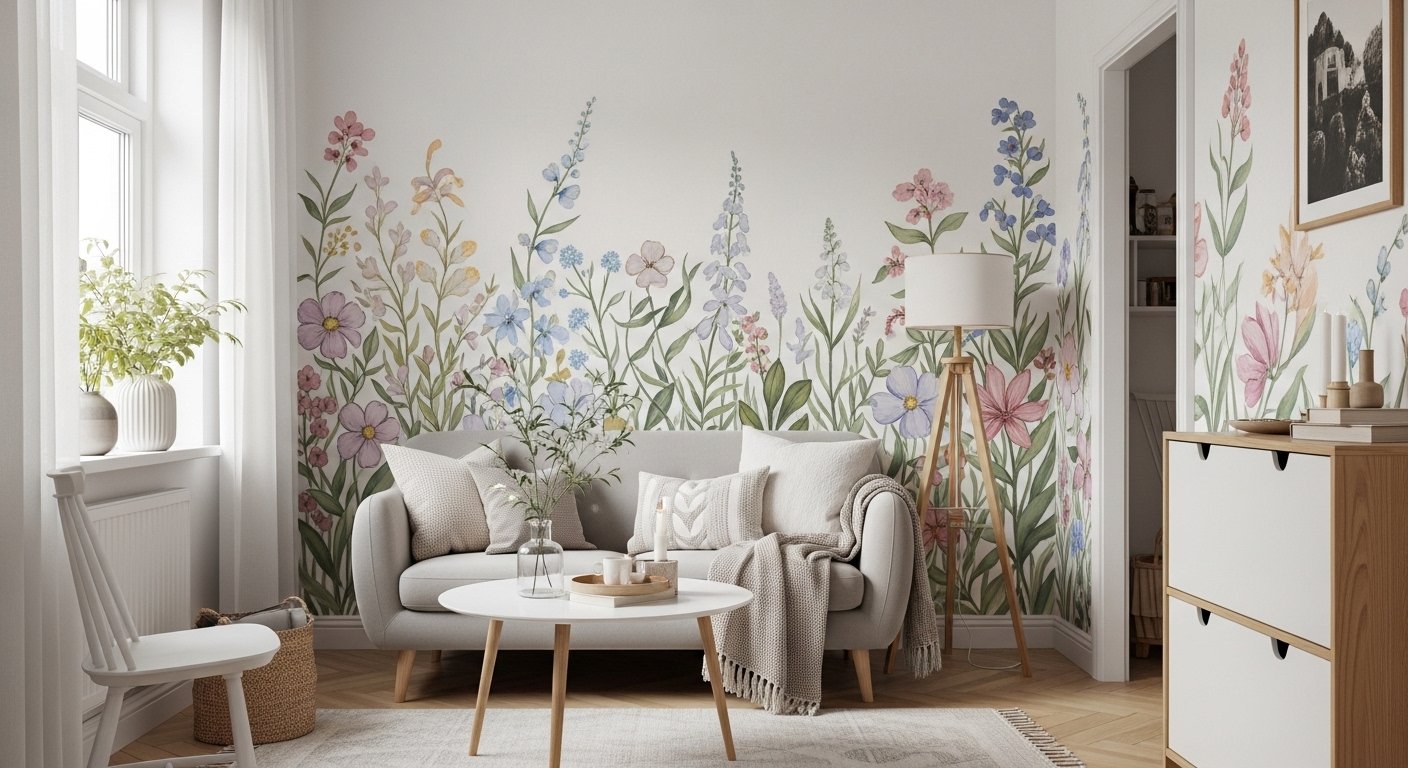
That empty wall with the question mark is your best friend – it’s permission to design something fun. I once stared at a wall for weeks and then decided on a mix of frames and a floating shelf; the result felt intentionally curated instead of last-minute. Try layouts on the floor first – saves so much measuring headache.
Cozy Book Nook
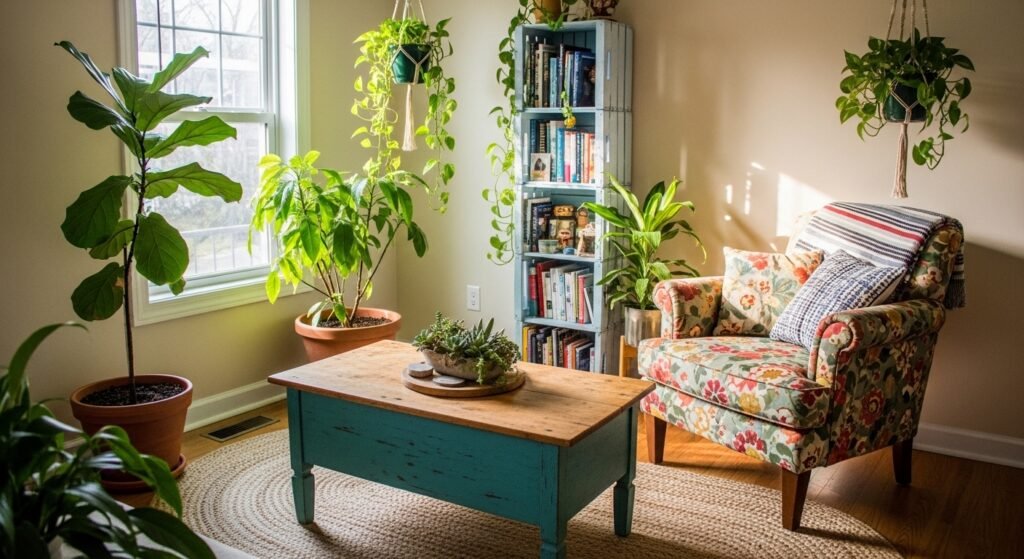
Crushing on public library vibes? Stack inexpensive shelves and add warm lighting to create a snug reading nook by the stairs. I reclaimed a corner under mine with thrifted bookshelves; the mismatched wood tones actually make it feel collected-not-contrived. Add a small rug and a lamp that you can tuck away when guests come.
Ornament Wall Mix
Hanging a mix of ornaments, mirrors, and plates turns a boring wall into a conversation starter. I like collecting pieces from markets and family hand-me-downs for this – there’s something oddly comforting about imperfect items together. If you’re nervous about composition, go monochrome first so it feels cohesive.
Entryway Drop Zone
A tidy entryway with hooks and a bench is the single best investment for daily sanity – shoes out, keys in, breathe. When I added a slim bench with storage, mornings got faster and less chaotic; the floor stayed cleaner too. You don’t need custom carpentry – a thrift bench plus baskets does the job beautifully.
Pantry Peek Refresh
Paint the pantry door, swap in clear containers, and label like your life depends on it – okay, maybe that’s dramatic, but it helps. I once organized my spices and found three years-worth of oregano – true story. Clear jars make everything look curated and save you from purchasing duplicates.
Layered Living Space
Layering furniture and textiles creates depth even in a small living room, and you can do it with thrift finds. I layered rugs and mixed chairs for more visual interest, and the space felt lived-in right away. Don’t be afraid to experiment – sometimes a bold throw changes the whole mood.
Window Slat Accent
Installing slatted wood accents on a window or wall gives texture and warmth without costing a ton. I added a simple slatted panel to my window frame and it made the light feel softer – also helped hide a dodgy blind. You can DIY this with reclaimed wood or lightweight slat panels from the home center.
Budget Desk & Shelves
A crisp white desk and some floating shelves create a clean workspace that won’t break the bank. I built mine from an inexpensive tabletop and brackets and it became my favorite corner to work from – even on bad days. Keep cable mess hidden with simple clips and your desk will look like a pro setup.
Statement Wall Clock
One large statement clock can anchor a room and replace a whole gallery wall if you’re short on time. I have a big clock above our mantle and it’s the easiest way to tell guests I actually have my life together – kidding, sort of. It’s bold, functional, and crazy simple to hang.
How to Actually Make This Work For You
Start small and pick one project that excites you – when you finish it, the momentum will make the next one so much easier, trust me. Use what you already own first: swap cushions, move plants, repurpose furniture before you buy anything new, and take photos after each change so you can compare and fine-tune later. Finally, make a list of the tools and one shopping trip – I always do better when I avoid multiple runs to the store and the “I forgot the screw” dance.
Do I need special tools to try these projects?
You don’t need a full workshop for most of these ideas – basic tools like a drill, sander, paintbrushes, and a tape measure cover a lot of ground. For bigger jobs, consider borrowing or renting tools instead of buying; it’s cheaper and you won’t have to store them forever.
How much should I budget per project?
Budget varies, but you can expect many of these DIYs to range from $20 to $200 depending on materials and scale. Start with a tight budget, shop thrift stores, and reuse supplies to keep costs down – I’m still amazed at what a few dollars and creativity can achieve.
Will renters be able to do these ideas?
Totally – most suggestions are renter-friendly like peel-and-stick wallpaper, movable shelves, or freestanding furniture alterations. For anything permanent, check with your landlord first and opt for reversible options so you don’t lose your deposit.
How do I make sure things look cohesive?
Pick two or three colors and repeat them through textiles, decor, and paint to create a cohesive look. Photos help a lot – take a picture, step back, tweak a bit, and don’t stress perfection; I still have a crooked frame and it somehow adds charm.