I finally figured out how to make a diy wall shelf on a budget feel like a grown-up design choice instead of a sad IKEA hack – and I want to share all the little wins with you. I’ve been redecorating apartments since I was 22 and somehow shelves are always the project that makes a room feel finished.
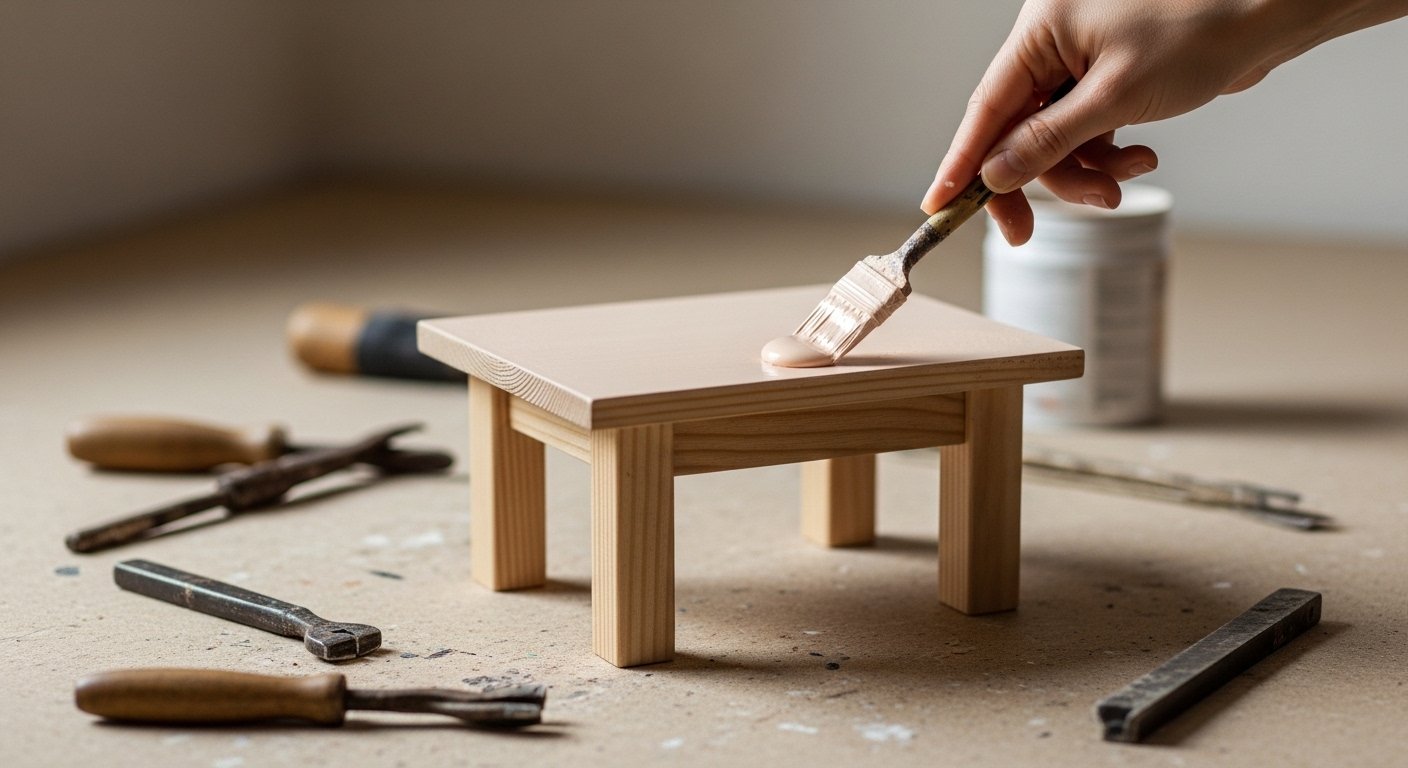
This post exists because I kept getting asked how I styled shelves without spending a fortune, so I took notes, salvaged some wood, and learned a ton through messy trial and error. I will totally admit some attempts were hilarious fails – paint drips and crooked brackets included – but that’s half the fun.
Scroll through these 10 doable ideas, peek at the Pinterest inspirations, and get practical tips so you can make one yourself without breaking the bank. You’ll have a shelf that actually looks like you meant it to be there.
These 10 DIY Wall Shelf Ideas on a Budget You’ll Actually Use
Simple Floating Trio
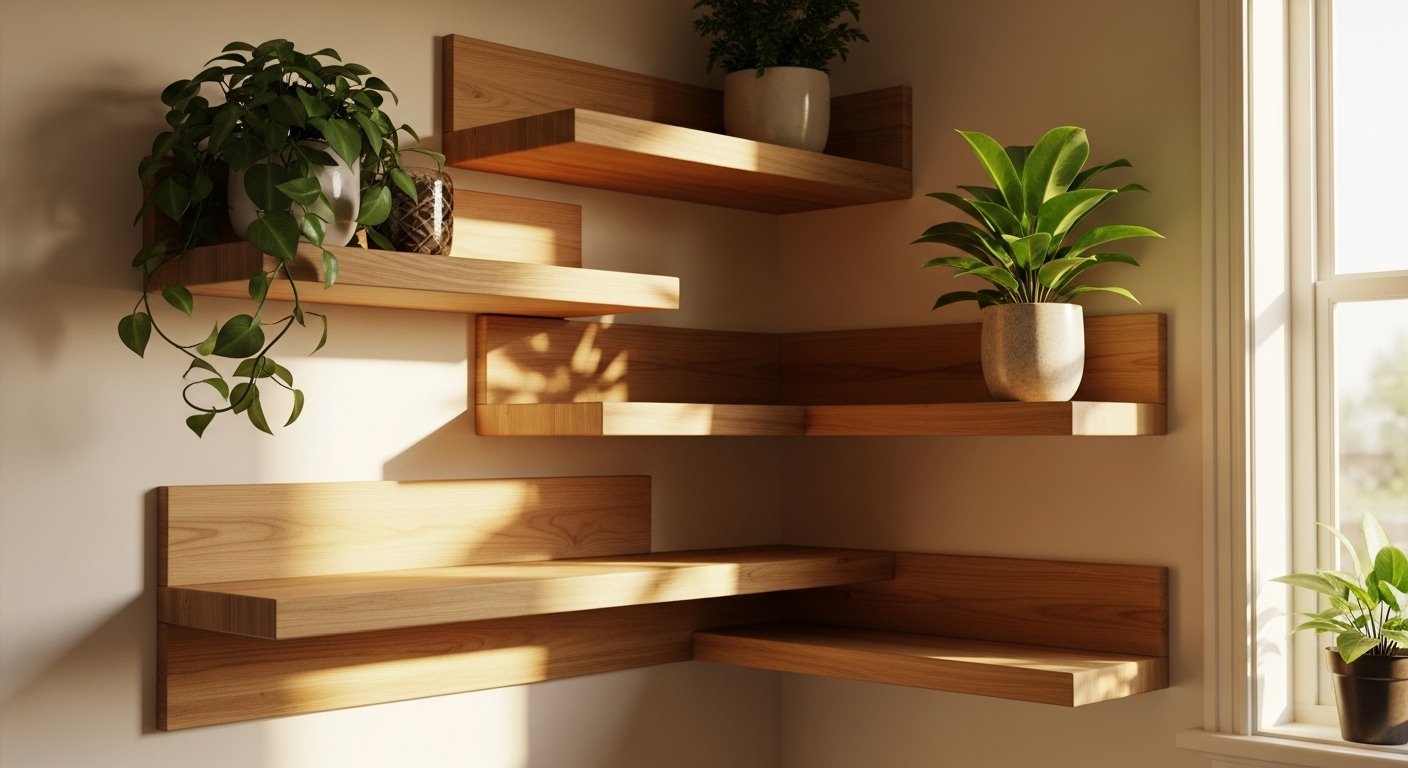
I love how three thin wooden shelves stacked like this feel modern but friendly – plants and books make it cozy. When I made my first floating shelf I was terrified it would sag, but using staggered studs saved me a panic attack. Pro tip – mix small pots with flat books so nothing looks too precious or perfectly placed.
Book-Heavy Nook
This is basically my inner librarian’s dream – shelves crammed with books next to a doorway feels lived in and useful. I once painted my own bracket supports to match the trim so it looked built-in, and my neighbor asked if I hired someone. If you have a ton of paperbacks, lining them by color is tempting but slightly addictive – you’ve been warned.
Box-Ledges Display
Using wooden crates or small box shelves gives you instant depth and a little cubby vibe without a lot of hardware. I used reclaimed crates from a farmer’s market once and sanded them down but left one knotty edge on purpose – imperfection is charming. You can stack differently or rotate boxes for variety, and the plants soften any rough edges.
Cat-Friendly Shelves
If you have pets, build shelves with wider platforms and softer corners – my cats treated mine like a jungle gym. I remember coming home to find the top shelf had become a sun spot for both of them, and honestly it made me smile every time. Just secure everything well and don’t stack breakables above their favorite perch – lesson learned the hard way.
Narrow Side-Mounted Shelf
This side-mounted shelf is perfect for slim entryways and feels intentional next to a patterned wall. I used leftover flooring planks once to make a narrow shelf and it looked surprisingly luxe for almost nothing. For small spaces like this, less is more – a single plant, keys, and a small bowl look cleaner than clutter.
Bedroom Plant Shelf
Shelves above the bed are moodier and more romantic when styled with greenery and soft textures – mine survived two moves and zero regrets. One time I tried fairy lights and they turned into a tangled mess, but soft white pots and trailing ivy were an instant upgrade. If your bed is unmade sometimes (ahem, mine), styling above it distracts in the best possible way.
Cozy Candle & Plant Row
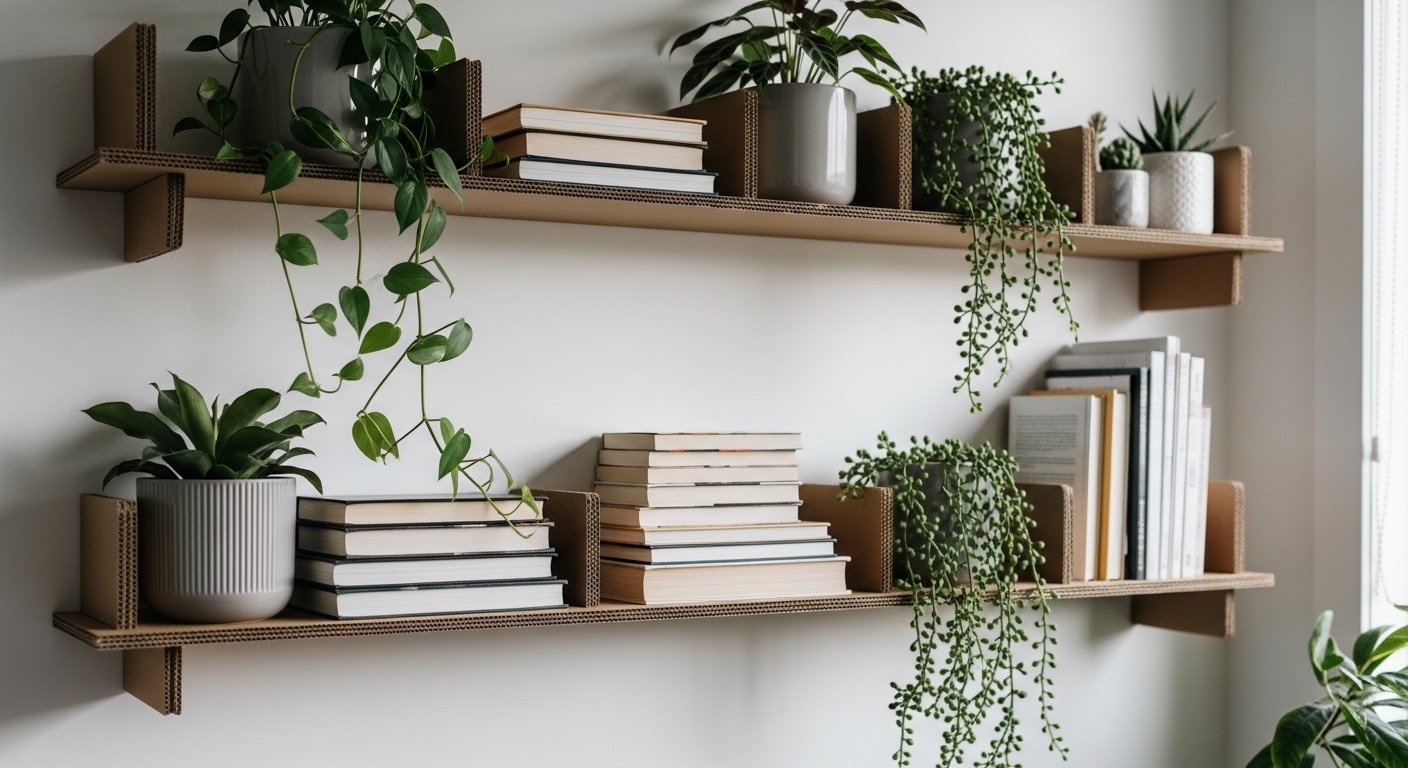
A simple row of wooden shelves with plants and candles creates a calm, spa-like vibe without spending much at all. I like alternating heights and textures – a tall cactus, a squat candle, a trailing pothos – it keeps the eye moving. If you’re clumsy with candles like me, swap in LED candles for safety and the same warm glow.
Magazine-Lined Shelves
Adding magazine holders to shallow wall shelves is brilliant for sorting receipts, recipes, or your favorite issues – very practical and tidy. Once I used thrifted magazine racks painted matte black and it instantly looked curated, not secondhand. You can label them if you’re someone who actually files stuff – otherwise, fake organization works fine too.
Maxed-Out Styling Shelf
When a shelf is filled with books, plants, and knickknacks, it feels like a portrait of your everyday life – I love that. I once arranged a shelf and then rearranged it three times in one afternoon until it felt “right” – patience matters. Leave a little breathing room so it doesn’t look like a museum display; a smidge messy reads intentional and cozy.
Classic Three-Tier Plants
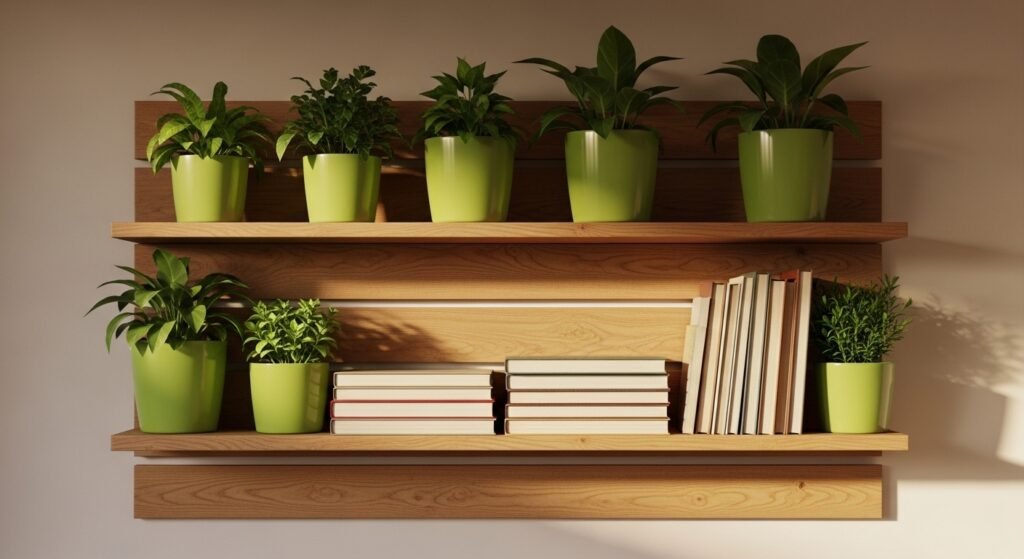
Three matching wood shelves with plants is a timeless look and surprisingly budget-friendly if you DIY the brackets. I used pine planks cut at the hardware store and stained them with a tea-and-walnut mix that cost almost nothing. Don’t stress over perfection – uneven stain gives character, promise.
How to Actually Make This Work For You
Start by measuring and visualizing what you actually need – a deep shelf for books, a narrow ledge for keys, or a decorative trio for plants – because one size does not fit all and I learned that the messy way. Use what you already own first: old wood, leftover paint, thrifted brackets; sometimes a coat of paint and new screws make something feel brand new. Finally, install securely and test the weight – I screw into studs when I can, and for lighter displays I use heavy-duty anchors; small precautions save heartache later.
What tools do I actually need?
For basic shelves you’ll need a drill, screws, a level, a stud finder if possible, and a saw if you’re cutting wood yourself. If you’re buying pre-cut boards you can skip the saw, but a measuring tape and a steady hand are non-negotiable.
How much will a DIY shelf cost?
Costs vary a lot – a simple shelf can be under $20 using reclaimed wood and basic brackets, while a more custom setup might be $50 to $100. Thrifting, repurposing, and painting are your best friends when you’re on a tight budget.
Can I hang shelves in an apartment?
Yes, most renters can use anchors designed for hollow walls or mount into studs to avoid damaging plaster, but always check your lease and ask your landlord if you’re unsure. Removable anchors and minimal holes help keep things renter-friendly.
How do I style a shelf so it doesn’t look cluttered?
Mix heights and textures, leave negative space, and group items in threes for balance – don’t try to display everything at once. Start with big pieces, then layer smaller items and add living things like plants to bring warmth and life.