I’m honestly obsessed with little home projects that actually make a space feel like mine – name plates for home DIY for beginners was one of those tiny adventures that turned into a weekend ritual. I started with zero carpentry skill and a stubborn love for pretty things, and now I can’t walk past a craft store without rescuing at least one tiny peg or paint pot.
This article exists because I know how frustrating it feels to want something handmade but not know where to start – I made a lot of messy prototypes, learned from glue disasters, and found simple tricks that actually work. If you, like me, are figuring this out between Netflix episodes and that one podcast, these ideas are for you.
You’ll get six approachable name plate projects with honest notes, little stories from my attempts, and practical tips so you leave feeling confident and a little proud – promise.
6 Simple Name Plate Ideas for Home DIY Beginners You’ll Try
Pressed-Flower Name Plate
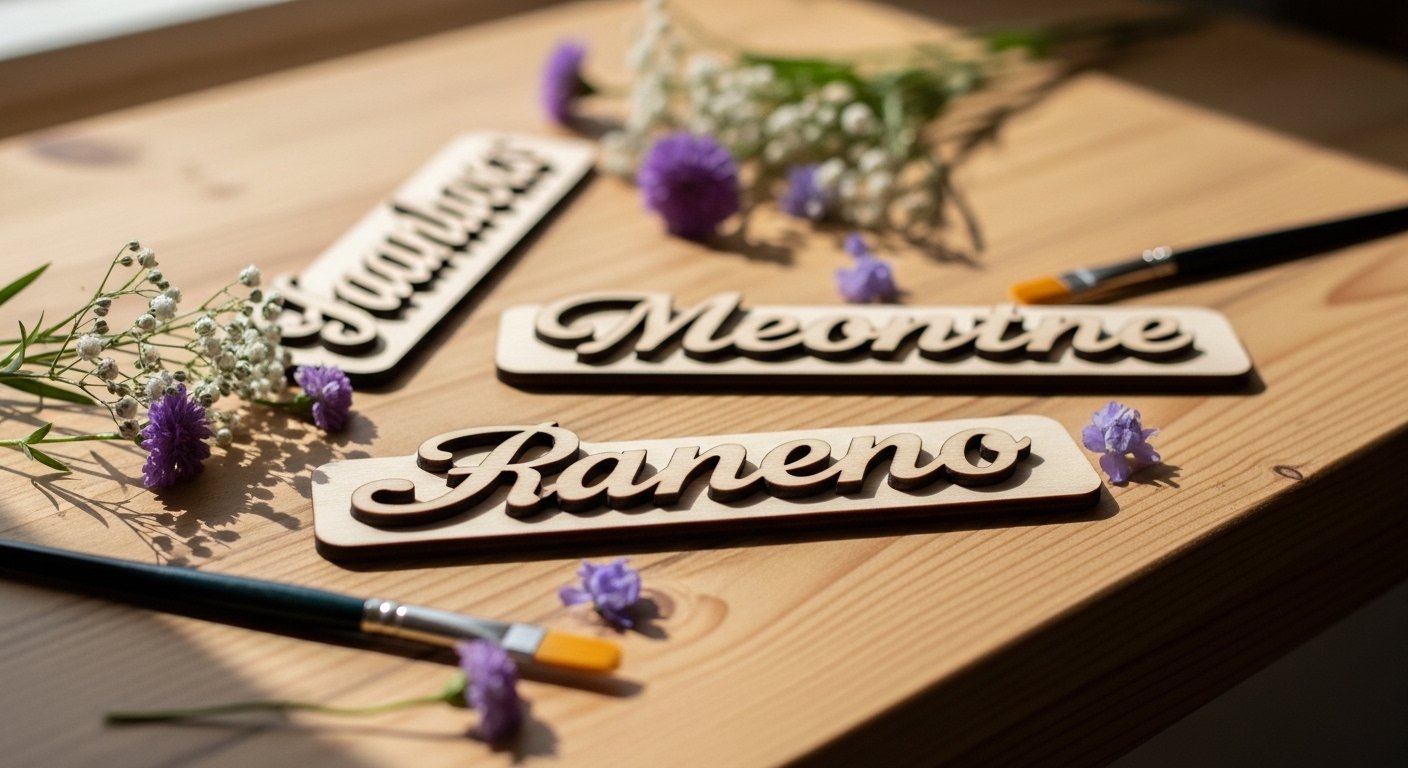
I made my first pressed-flower name plate on a rainy Sunday and it felt like bottling a tiny garden – the delicate petals make any door or shelf so sweet. If you have a stash of dried flowers or even a bouquet past its prime, this is a perfect zero-stress start; you don’t need power tools, just glue and clear sealant. One time I tried to press big roses and learned that thinner petals lay nicer, so now I stick to daisies and baby’s breath mostly, ps it still looks beautiful even if slightly lopsided.
Pizza-Board Style Tag
This one is basically a tiny pizza board vibe and it feels so cozy on a kitchen drawer or herb shelf – you can use an old cutting board slice or buy a small paddle online. I hand-lettered mine with a paint pen and it took three tries to get the spacing right, so don’t be mad at yourself if your first letters wobble a bit. If you’re decorating a kitchen, try writing a little recipe note on the back once – I did that for my basil plant and it’s oddly charming.
Studio Workshop Plate
If you want something with a handmade, slightly industrial feel, this wood-and-metal combo is gorgeous and beginner-friendly if you keep things small and simple. I glued a thin metal strip to a painted wood rectangle for my craft table and it instantly felt like the space had a personality – kind of like giving your desk a name tag. One afternoon I sanded too much in a hurry and ended up with a wonky edge, but it actually looked rustic, so hey – happy accidents count here.
Minimal Black Box Plate
Clean, modern, and so simple – a tiny black box with white lettering is timeless and basically foolproof for beginners who want sleek style without fuss. I painted a little wooden block black, used a white gel pen for the name, and it looked way pricier than the five bucks I spent on materials. If you worry about perfection, try slightly rounded letters instead of perfect serifs – it feels more human and forgiving, I promise.
Whimsical Clock-Face Tag
This one has such a playful energy – think tiny clock motif and little faces or characters for kids’ rooms or creative corners, and it’s way easier than it looks. I painted tiny numbers and added a mini hand for fun, and my niece absolutely lost it when she saw her name on a “timekeeper” for her shelf – that little squeal made a messy painting session totally worth it. If you’re making one for kids, let them help pick colors; mine chose neon pink and somehow it worked.
Floral Brushstroke Plate
Brushstrokes and soft florals make this one feel like a miniature piece of art – use watercolor on wood or thick paper and seal it so it lasts, even if you aren’t a painter. I tried this after a late-night craft binge and my brush control was questionable, but the imperfect petals looked more like a little painting than a flaw. If you’re nervous about freehand, lightly pencil the name first and then paint over it; you can erase faint pencil marks after sealing.
How to Actually Make This Work For You
Start small and treat each name plate as a practice piece instead of a final product – that mindset makes mistakes feel like part of the process, not a failure. Pick one project from above, gather all materials first so you don’t mid-project panic-buy, and set a timer for focused 30-minute sessions if you have a busy life – I do this when I need craft time but only have coffee breaks between calls. Try mixing two ideas together – like pressed flowers on a minimal black block – because combining styles often gives you a signature look that feels more “you” than copying a single tutorial. Lastly, remember that finishes and small details matter more than perfect lines, so sand edges lightly, use a simple sealant, and add little hanging hardware or felt pads to make your plate feel finished and intentional.
What materials do I need as a true beginner?
Start with a small wood block or paddle, basic acrylic paints, paint pens, glue (PVA or hot glue for quick bonds), a clear matte sealer, and some sandpaper – most of the projects above use only these. Add a few decorative bits like dried flowers or a thin metal strip if you want to level up a little, but you can absolutely make a beautiful name plate with just the basics.
How do I attach a name plate to a door or shelf?
For doors, lightweight plates work well with double-sided mounting tape or removable command strips so you won’t damage paint; for shelves, a little hook or leaning plate is fine. If you’re making something heavier, use small screws or anchors and pre-drill holes – I learned the hard way that tiny screws hold much better than brute force.
Can I customize these for gifts?
Yes, totally – personalized name plates make sweet, thoughtful gifts and you can add dates, little icons, or a short message on the back to make them extra special. Wrap in simple kraft paper with a ribbon or place in a small box and include a note about how you made it – recipients love the story behind handmade pieces.
How do I protect painted or paper elements?
Seal painted wood with a clear matte polyurethane or spray sealant to guard against scuffs and sunlight; for paper elements, use a clear adhesive laminate or apply a spray varnish gently. I usually apply two thin coats and let things cure overnight – patience is boring but worth it, trust me.