I have a soft spot for DIY kitchen decor on a budget – it started when I moved into my first tiny apartment and realized a few crafty swaps could make the whole room feel like mine. Making things by hand or repurposing thrift-store finds became my little form of magic, and honestly, it’s cheaper than retail therapy.
This article exists because I know how overwhelming pin boards can be – too many pretty photos and not enough “how do I actually do that without spending a fortune?” I’ve tried tons of these projects myself, from painting jar lids at midnight to awkwardly trimming cabinet tops while humming 90s songs. You’ll get the realistic version here – with small wins and tiny fails included, because that’s the point.
Below you’ll find 11 easy, budget-friendly DIY kitchen decor ideas that I actually made work in real life. Read on and pick a few – you’ll be surprised how much a couple of simple tweaks can change the whole vibe.
11 DIY Kitchen Decor Ideas on a Budget You’ll Actually Try
Chic Cutting Board Display
This simple look makes wooden cutting boards feel like art instead of clutter. I stacked mine against a gray cabinet and leaned a big breadboard like a backdrop – it immediately warmed the space. You can mix shapes and sizes for contrast, and if one board is dented or nicked it’s actually charming, not a problem. For an extra touch, tie a little leather loop on the top of a thinner board for hanging – trust me, tiny details like that feel luxe.
Mini Water Feature
I confess, I once considered a countertop fountain purely for the white-noise effect while I chopped herbs – it was soothing and kind of ridiculous. A small wooden stand with a bowl or sink-like tray gives you that calming water sound without a huge installation cost. If you use a recirculating pump it’s low fuss, and the natural wood base ties into other accents so the whole thing looks intentional. Side note: make sure it’s stable – I learned that the hard way when a bowl shifted during cleanup.
Farmhouse Window Sink
A simple metal sink under a sunny window instantly reads cozy and functional, especially when you show pots and pans as part of the decor. I hung my most-used pans on a rail and left one small potted plant on the sill; guests always comment on how homey it feels. You don’t need to replace cabinetry to get this vibe – sometimes rearranging what you already own does the trick. Also, the patina on older pans? It’s character, not a flaw.
Stove-Side Cozy Moment
Okay, this one is less decor and more lifestyle, but hear me out – creating a cozy nook by the stove makes cooking feel like an experience rather than a chore. I once sat on the floor to keep my kitten company while something bubbled away, and that little moment made the kitchen feel like the heart of the home. Adding a soft kneeling pad or a small woven mat near the oven changes the energy – it’s cute and practical. Don’t judge the slightly scratched tile; lived-in kitchens are the best.
Green Cabinet Glow
Painting lower cabinets a rich green is a budget-friendly way to make a statement without replacing anything. I painted the base cabinets in my last place for way less than new doors and it completely transformed the room – friends thought I had a custom kitchen! If you’re nervous, try one section first or use peel-and-stick samples before committing. Small imperfections in brush strokes only add to the handmade feel, so don’t over-worry the edges.
DIY Crown Trim
Adding simple wood trim to the tops of cabinets makes them look built-in and much pricier than they actually are. I measured the cabinet tops, cut cheap pine boards, and painted them the same color as my cabinets – instant glam. If you’re like me and your cuts aren’t perfectly straight at first, a little caulk hides a multitude of sins. Also, don’t forget to sand lightly between coats; the difference is worth the time.
Fresh Painted Jar Lids
Painting jar lids with lemon motifs or simple patterns is so silly but so satisfying – and it instantly upgrades pantry storage. I spent an afternoon painting a handful of lids while listening to a podcast, and now my jars are my favorite little upgrade. Use acrylic paint and seal with a clear coat so they can survive sticky fingers or a spill. You can match the lids to your kitchen accent color for a cohesive look that costs basically nothing.
Bright Spoon Display
Hanging colorful spoons transforms ordinary utensils into wall art that also stays useful, which I love. I drilled a slim rail and hung the spoons at varying heights – it became a conversation piece during dinner parties. If your spoons are plain, try painting the handles or wrapping them with washi tape for quick personality. Also, expect a few drips while you paint; it’s part of the process and makes the project feel authentic.
Simple Utensil Jar
A rustic utensil holder is an effortless countertop upgrade that keeps wooden spoons and spatulas organized and cute. I grabbed a mason jar, tied twine around it, and smushed in all my wooden tools – immediate charm, minimal effort. You can personalize with labels or paint, and if the jar chips a little it still looks vintage and lived-in. Pro tip: keep the heaviest utensils in the back so the jar doesn’t tip.
Herb Shelf Vibes
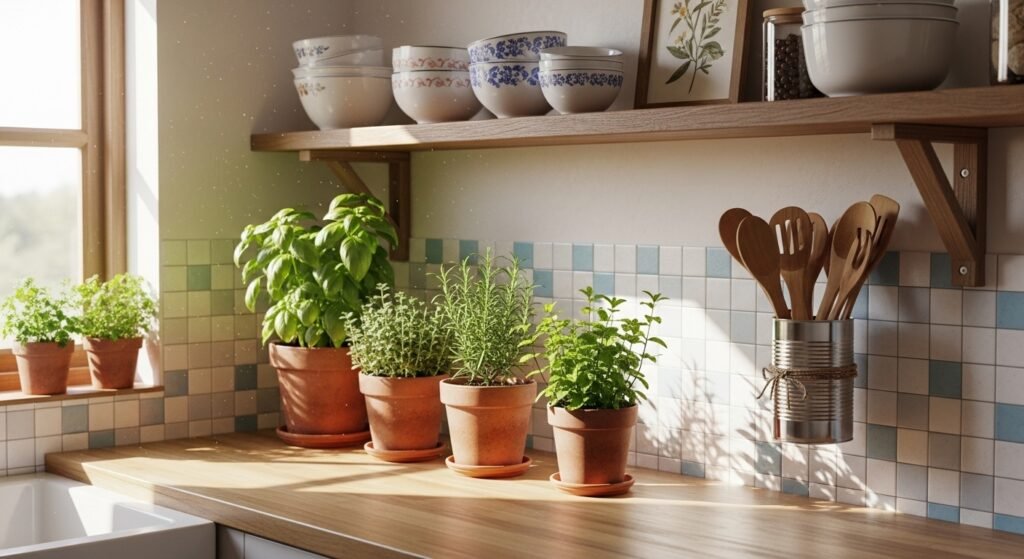
Planting a row of herbs on a small shelf above the backsplash makes the kitchen smell amazing and looks delightfully intentional. I failed spectacularly at basil once – lesson learned: light matters – but now I rotate herbs based on the sunny spots. Small terracotta pots are cheap and chic, and you can paint them if you’re feeling artsy. Honestly, the greenery is the easiest way to make a budget kitchen feel fresh and curated.
Painted Tiled Backsplash Accents
Okay, full disclosure: repainting tile is a little daring, but it works when you use the right primer and tile paint – and it saves a ton compared to replacing tiles. I touched up a small section behind my counter with geometric shapes and it became my favorite DIY brag. If you’re timid, try one backsplash tile or a removable board leaned against the wall first. You can always paint over it later if your taste changes, so it’s low commitment.
Open Shelving Styling
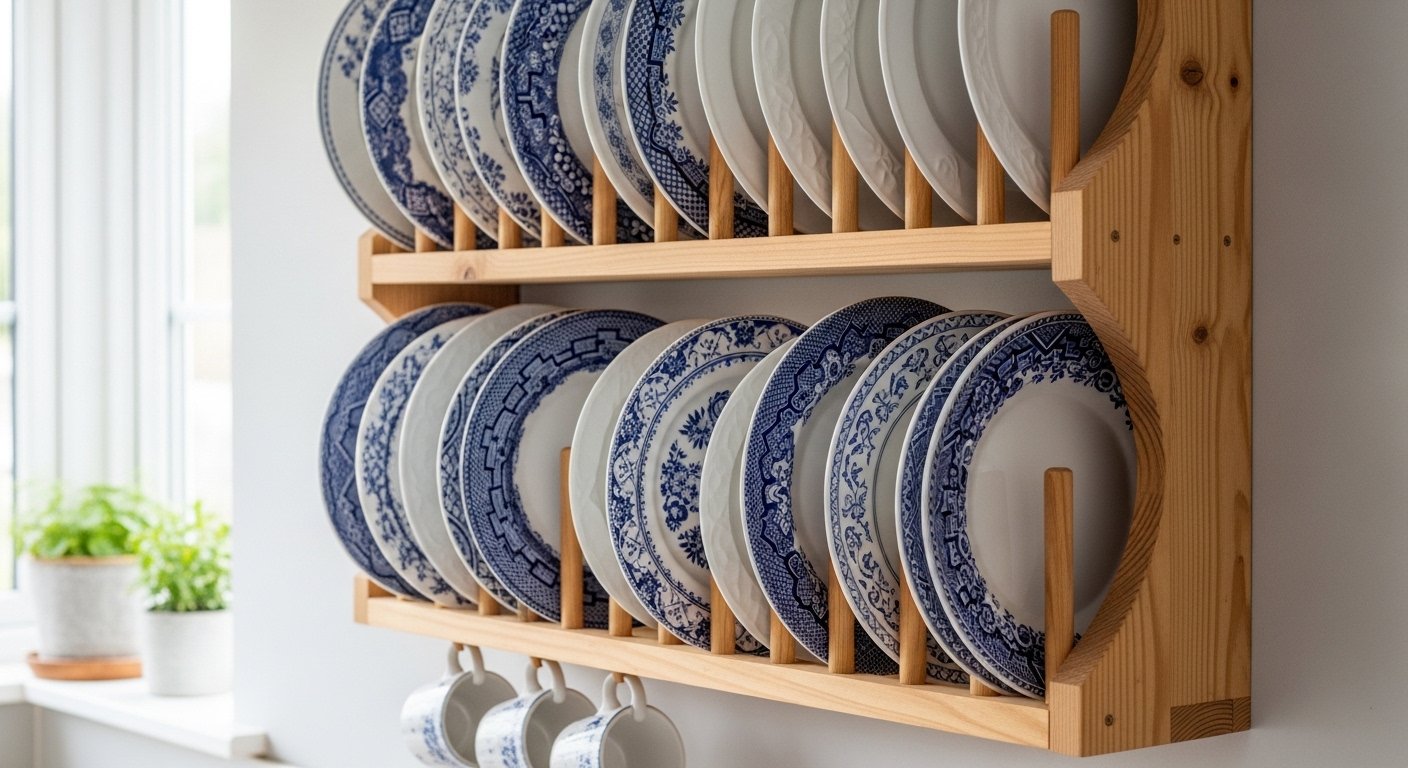
Open shelves let you display the pretty parts of your kitchen – stacked plates, a row of glasses, and a couple of potted plants balance function and style. I once rearranged my shelves three times in one afternoon because I couldn’t decide, and that’s okay – styling is part of the fun. Use baskets to hide clutter and keep frequently used items within arm’s reach. Remember, a little imperfection makes the shelf feel real, not staged.
How to Actually Make This Work For You
Start by deciding what you want the kitchen to feel like – cozy, bright, or modern – and pick two small projects that fit that vibe instead of trying everything at once, because tiny wins add up and keep momentum. Measure, test, and repurpose: those jar lids, a leftover board, or a thrifted planter can be the anchor for a fresh look, and painting a single cabinet or adding a herb shelf gives instant payoff without rerouting your life. Finally, embrace imperfect results; they tell a story and make your home feel like yours, so try, tweak, and then live with it for a week before changing anything else.
How much should I budget for a simple kitchen refresh?
Expect to spend anywhere from $20 to $200 depending on the projects you pick – painted lids and jars are almost free, while cabinet paint and hardware add costs. I usually set a soft cap per project so I don’t get carried away and end up ordering things I don’t need.
Do I need special tools for these DIYs?
Most projects use basic tools like a paintbrush, sandpaper, a drill for rails, and a measuring tape – nothing fancy. If you occasionally need a saw or a more specialized tool, consider borrowing from a friend or renting; saves money and avoids clutter.
How do I make painted surfaces last?
Proper prep is key: clean surfaces well, sand lightly, and use a primer made for the material, then seal with a clear coat for protection. I learned this the sticky way once, so now I always take that extra prep time – it pays off tenfold.
What if I change my mind later?
Many of these ideas are intentionally low-commitment: painted jars can be repainted, shelves can be restyled, and peel-and-stick samples help you test color choices. Think of each project as an experiment – you can always switch it up without wasting much money.