Okay, real talk – I spent way too long procrastinating on my tiny closet before I finally learned how diy closet shelves for beginners can completely change the way you get dressed in the morning. I remember feeling overwhelmed by tutorials that assumed I had a workshop and a week of free time, so I did what most of us do – dove in slowly and learned as I went.
This article exists because I wish someone had handed me a simple roadmap when I first started – no jargon, no fancy tools, just practical steps and ideas that actually work for an apartment renter or a busy human. I built my first shelf with a borrowed drill and a playlist, and now I want to share the easiest, prettiest setups that saved my mornings (and my sanity).
Below you’ll find ten doable closet shelf ideas, real-life tips from my trial-and-error, and quick FAQs so you can pick one project and get started today – no stress, promise.
These 10 Easy DIY Closet Shelves for Beginners You’ll Actually Try
Open Wooden Shoe Shelves
I love open wooden shelves because they make shoes feel like part of the room instead of buried treasures – you can actually see what you own. I built a similar version with 1×10 boards and simple L-brackets, and yes, my sneakers are now arranged like tiny little trophies (I know, ridiculous). If you want a quick win, stain the wood first so any sanding dust doesn’t show up later, and try not to lean a ladder on freshly installed shelves – learned that the messy way.
Minimal White Built-Ins
White shelving gives such a clean, airy vibe and it was my go-to when I wanted my closet to feel bigger without changing the layout. I used affordable MDF and primed it twice because I am mildly paranoid about water marks – it paid off, honestly. You can keep things super simple: cut, attach, caulk the seams, and paint – a weekend project that looks custom but doesn’t cost a fortune.
Simple Cubby Units
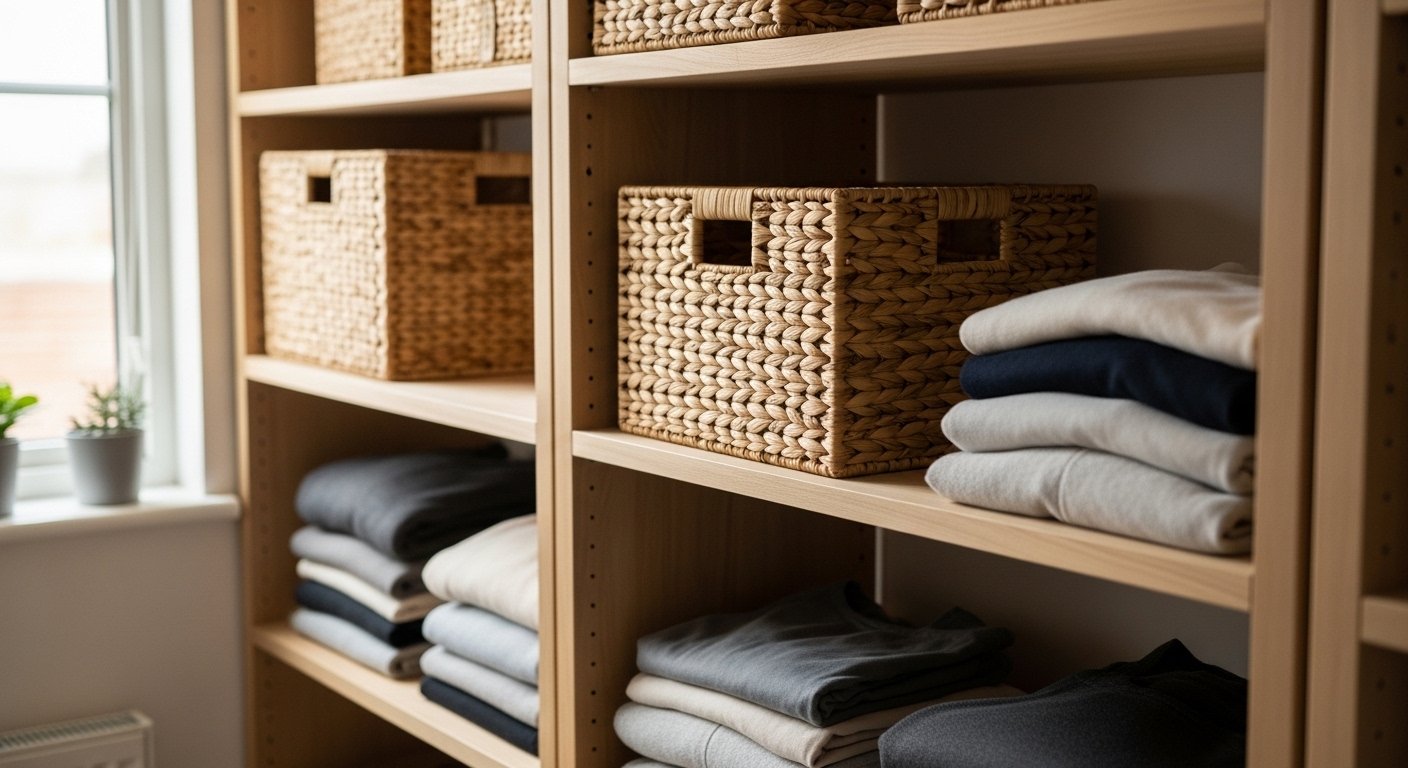
Cubby-style shelves are perfect if you like boxes, baskets, or a spot for folded sweaters – they hide clutter while still being accessible. I once used cube organizers for shoes and scarves, and it was the only time my closet actually stayed tidy for more than two weeks – miracles happen. If you’re short on tools, these often come flat-packed and are easy to assemble with a friend over coffee.
Mixed Hanging + Shelves
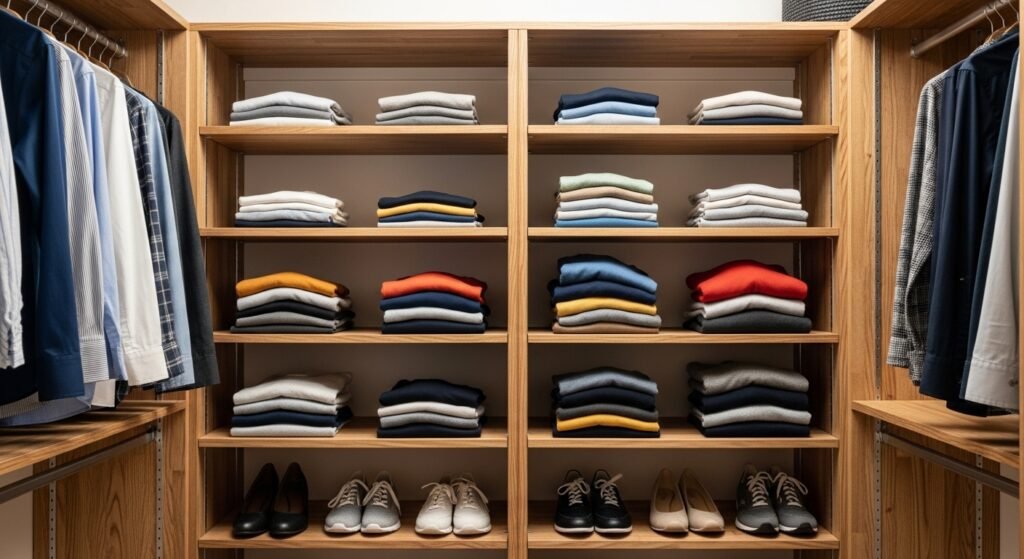
Combining a hanging rod with a few shelves feels like the best of both worlds – dresses get their space and you still have room for shoes or boxes. I moved from a closet that was all hangers to this hybrid setup, and my outfit choices suddenly felt less stressful – fewer wrinkles, less digging. If you have a pair of adjustable brackets, you can change shelf heights as your needs evolve, which I appreciate way more than I expected.
DIY Adjustable Shelving
Adjustable shelves are a lifesaver when your wardrobe changes with seasons or moods – I honestly shift things around at least once a month. I installed a simple track and shelf-pin system so I could move a shelf down for boots or up for hats; no heavy duty carpentry required. If you hate commitment like I do, this approach gives you flexibility without sacrificing a polished look.
Reach-Friendly Lower Shelves
Putting a few shelves lower in the closet was a game changer because I actually use everything I own now – no more shoes stuck on high, forgotten shelves. Once, I built three shallow shelves at knee level for my daytime shoes and accessories, and I swear mornings became ten times easier. If you’re short or just hate climbing, make lower shelves your first focus – it’s such a practical upgrade.
Stacked Shelves for Clothing
Stacked shelving is what I did when my dresser overflowed into the closet – folded tees and jeans look neat and accessible this way. I learned that consistent folding makes a world of difference; once I started folding all my tees the same way, the shelves felt designer-level organized. Tiny note – be realistic about shelf depth or things will tumble out when you pull one item, trust me.
Bottom-Shelf Pull-Outs
Pull-out bottom shelves are the kind of detail you don’t know you need until you have them – they make accessing boxes and off-season items so much less awkward. I installed a glide mechanism on one of my lower shelves and it felt like magic every time I slid it out to grab boots or a bag. You don’t need industrial hardware; compact drawer glides are affordable and pretty easy to attach with basic tools.
Fun Painted Accent Walls
Painting the back of a closet is a tiny creative rebellion that can make simple shelves pop – I once did yellow stripes and it felt like sunshine every time I opened the door. You can pair bold paint with plain white shelves for balance, or go monochrome if you want a calmer vibe; either way, it’s an inexpensive way to show personality. Quick tip – paint before installing shelves unless you’re into painting around planks (I am not).
Organized White Drawer Units
Adding drawer-style shelving brings tidiness to things you don’t want on display, like intimates or messy accessories, and I love the clean look it creates. I combined shallow drawers with open shelves so I could hide the clutter and display the cute stuff – a compromise that saved my relationship with my closet. Also, if you’re renting, modular drawer units mean you can take them with you when you move – practical, yes please.
How to Actually Make This Work For You
Start by measuring twice and planning what you actually own – not what you wish you owned – because that prevents wasted boards and sad gaps, and yes I have a stack of perfectly good shelves I never used. Pick one small area to tackle first, maybe the shoes or folded sweaters, so you get a project done in an afternoon and feel motivated to continue; momentum is everything. Lastly, use affordable materials to begin with – think primed MDF or pine – and upgrade later only if you fall in love with the layout.
Do I need power tools for these shelves?
Not necessarily – many beginner-friendly kits and simple bracket systems can be installed with just a cordless drill and a level. If you prefer hands-off, some units are pre-cut or flat-pack and only require basic assembly, which feels very doable even if you are tool-shy.
How much will a basic DIY closet shelf cost?
For a single small shelf or a simple cubby setup you can often stay under $50 if you shop smart and use basic lumber; a more custom built-in will cost more but still beat professional install in many cases. I found that painting and hardware added the most to my budget, so plan for those extras.
Can renters install these shelves safely?
Yes – choose reversible options like freestanding cubbies, tension rods, or shelves that anchor to studs with minimal holes so you can patch them later. I patched two small screw holes before moving and it took five minutes, so don’t let renting stop you from creating something functional.
What if my closet walls are uneven?
Shims and a little caulk are your best friends – they help level shelves and hide small gaps, and nobody will notice unless you point it out. Start with a level and adjust as you go; crooked doesn’t always mean irreparable, I promise.