I have been obsessed with the DIY bathroom vanity aesthetic lately – it’s that sweet spot where thrifted finds meet chic finishes. I spent a weekend painting an old cabinet and suddenly felt like a design wizard, honestly.
This little post exists because I know how intimidating a vanity refresh can feel, but small changes truly make it look expensive. I’ve done the swap-your-knobs trick, the countertop paint experiment (yes, it worked better than I expected), and lived to tell the tale.
Stick with me and you’ll get ten distinct looks, practical notes on what actually upgrades the vibe, and a few real-life stories so you don’t make my mistakes – promise.
These 10 DIY Bathroom Vanity Aesthetics That Look Expensive
Warm Wood + Floral Flair
This one mixes warm wood cabinets with a green countertop and floral wallpaper – it instantly reads curated. I tried a similar floral accent wall in my tiny powder room and it made the whole space feel like a boutique hotel, even though my sink is the size of a postage stamp. Tip – go soft with the pattern so the wood still sings; I almost went too busy once and had to repaint, oops.
Simple Sink, Fresh Mirror
The vibe here is clean and calm – a straightforward sink, a classic mirror, and minimal fuss. When I redid my bathroom, swapping an ornate frame for a simple round mirror was a turning point; suddenly the room felt lighter. Honestly, you don’t always need a full reno – a mirror swap plus new faucet often does the trick.
Ladder-Layered Vanity Moment
I love the playful energy of using ladders as styling props by the sink – yes, it’s quirky and totally do-able. I once propped a lean ladder to hold towels and plants, and guests kept asking where I bought it; little victories. If you try this, secure it so it doesn’t wobble – learned that the hard way when a towel slide-off became a dramatic flail.
White Sink, Natural Cabinet
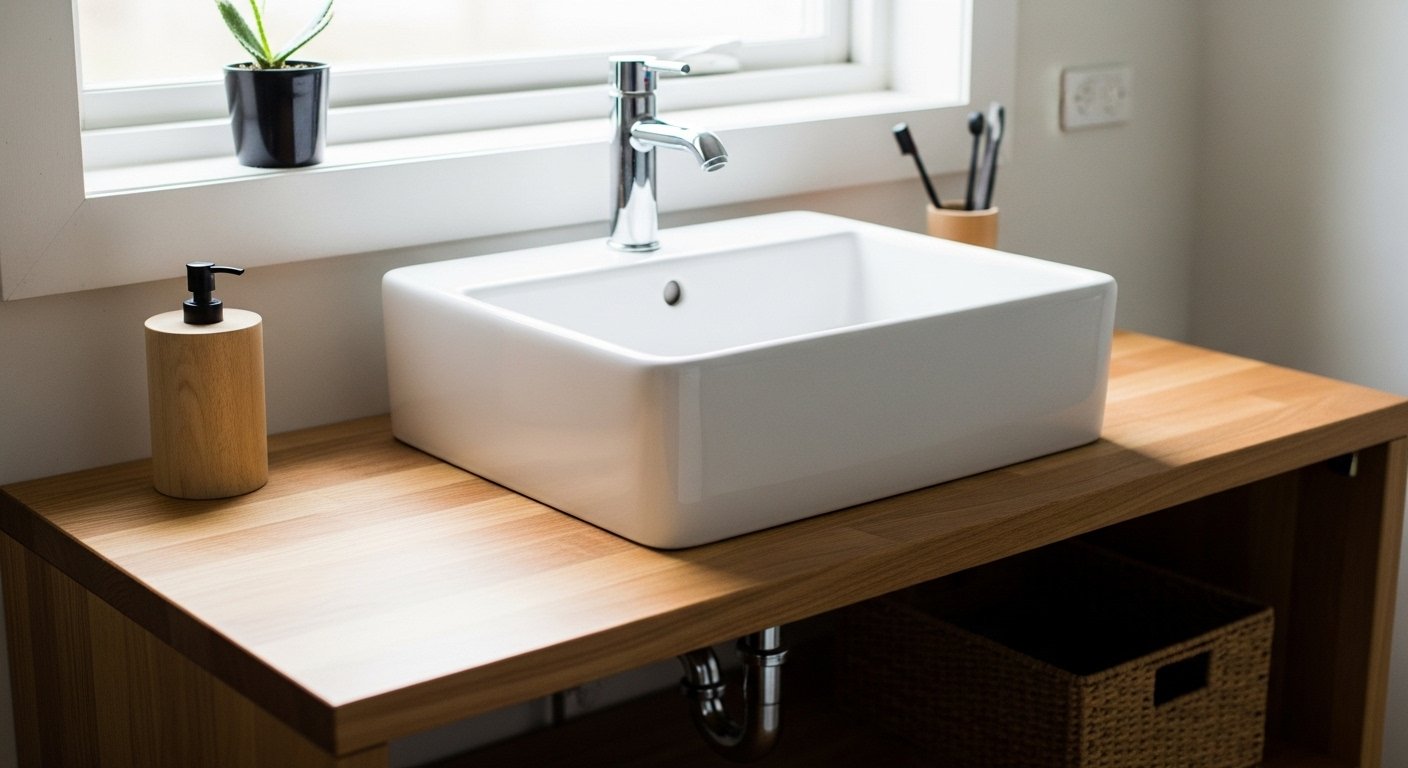
Classic white basin paired with a warm wooden cabinet is foolproof for that high-end feel. I swapped machine-finished cabinet doors for reclaimed wood fronts once and swear it elevated the whole bathroom from meh to “how nice!” right away. Pro tip – a matte white sink looks more luxurious than glossy in photos and in person.
Step-Up Vanity Styling
The little wooden steps leading up to the sink add charm and dimension – it’s whimsical but tasteful. I used a small stool once as a pseudo-step to give my plants height and it brightened the corner, which surprised me. Don’t overdo it though; keep the floor clear enough to mop without an obstacle course.
Soft Neutral Remodel Look
This neutral setup with a modest sink and mirror is calming and feels expensive because of thoughtful restraint. When I painted everything in soft eggshell tones, it made my tiny bathroom feel twice as peaceful – plus, I could swap accents seasonally. Little details like textured towels and a wooden tray go a long way here.
Open Shelves in Progress
I adore the half-finished vibe of installing open shelves – it shows personality and invites styling. I once installed floating shelves slightly crooked, and that became a running joke – but after a quick shim fix, it looked intentional. Styling tip – mix storage baskets with glass jars so it’s pretty and practical.
Minimal Sink Nook
The quaint sink shelf with a roll of TP and a small mirror is low-effort but polished. I keep one tiny nook like this in my home for evening skincare routines; it’s my little ritual spot. Keep essentials close and decorative bits minimal so it stays serene and not cluttered.
Double Sink Warmth
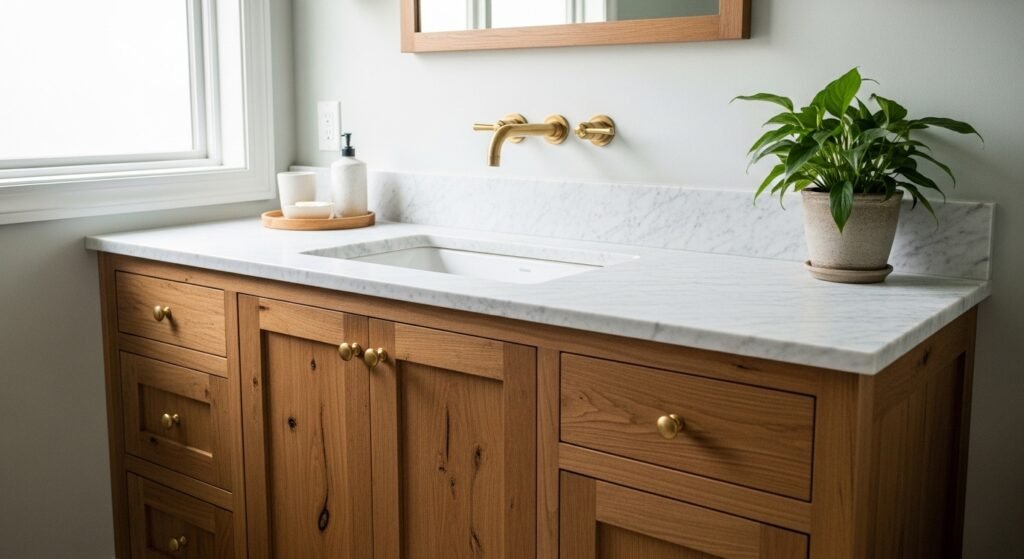
Double sinks with wood flooring feel like a mini-spa – very aspirational but totally achievable on a budget. I remember repainting a cheap vanity and adding brass pulls to mimic this look; it worked better than expected and cost far less than new cabinetry. If you can’t do two sinks, mirror the symmetry with matching mirrors and lighting instead.
Bathtub Space Ready
Seeing a bathroom mid-remodel and imagining the finished vanity makes me giddy – potential is everything. I learned that planning storage before you pick finishes saves so much grief; once I ignored this and had to add baskets later. Imagine your dream routine here – then design for that, not just for looks.
How to Actually Make This Work For You
Start by identifying just one upgrade that will change how you use the space – swapping hardware, switching a mirror, or painting the vanity can shift the whole aesthetic without draining your savings. Think about texture and contrast next; a warm wooden base against a cool countertop or patterned wallpaper gives that “designer” edge and helps the rest of your styling fall into place. Finally, choose pieces you’ll actually live with – a vase that’s perfect for a photo but knocks over daily isn’t worth it, trust me.
How much does a DIY vanity refresh usually cost?
It depends on what you change – hardware and paint can be under $100, while new countertops or reclaimed wood doors push things higher. Most simple swaps that really change the aesthetic are surprisingly affordable if you shop sales and thrift stores.
Can I paint a laminate vanity myself?
Yes, you can, but prep is everything – clean, sand lightly, prime with a bonding primer, then use a durable paint. I’ve painted laminate before and the finish lasted well when I followed those steps and used a clear protective topcoat.
What countertop options look expensive without the price tag?
Painted concrete, polished plaster, and high-quality laminate that mimics stone can look luxe for less. You can also use thin stone veneers or a cultured quartz remnant for a real-material vibe on a smaller budget.
How do I style shelves without cluttering them?
Mix function with beauty – group like items in small clusters, add one or two decorative items, and include a living plant for life. Rotate items seasonally so the shelf always feels fresh rather than overcrowded.