Okay, real talk – cardboard shelves diy ideas have been my weird little obsession since I moved into a tiny apartment last year. I was desperate for storage that didn’t break the bank, and I ended up falling for the charm of corrugated cardboard more than I expected.
I made this list because you can actually get creative with cardboard and make things that look intentional, not like you’re living in a college dorm. I’ve tried a handful of these styles – some worked, some were glue-gun disasters – but each taught me something useful.
Stick with me and you’ll get 15 playable, space-saving cardboard shelf ideas, plus practical tips to make them sturdy and cute. I promise there’s at least one idea here that will make you say, “I can do that.”
These 15 Cardboard Shelves DIY Ideas You’ll Totally Try
Simple Box Shelving
This one is the classic starter move – cut a box, fold it, tape the edges, and boom, you’ve got a little cubby. I used this exact trick the week I moved in; it held my mugs and a sad little succulent until I upgraded. If you’re impatient like me, this is the quickest win – just watch the weight limits, okay?
Layered Cardboard Panels
These layered panels give a surprisingly clean, paper-modern look and feel sturdier than a single sheet. I once stacked three panels and clamped them overnight with heavy books – it bonded nicely and felt almost like plywood. You’ll love how chic this looks when painted or left raw for a neutral vibe.
Green-Accented Shelves
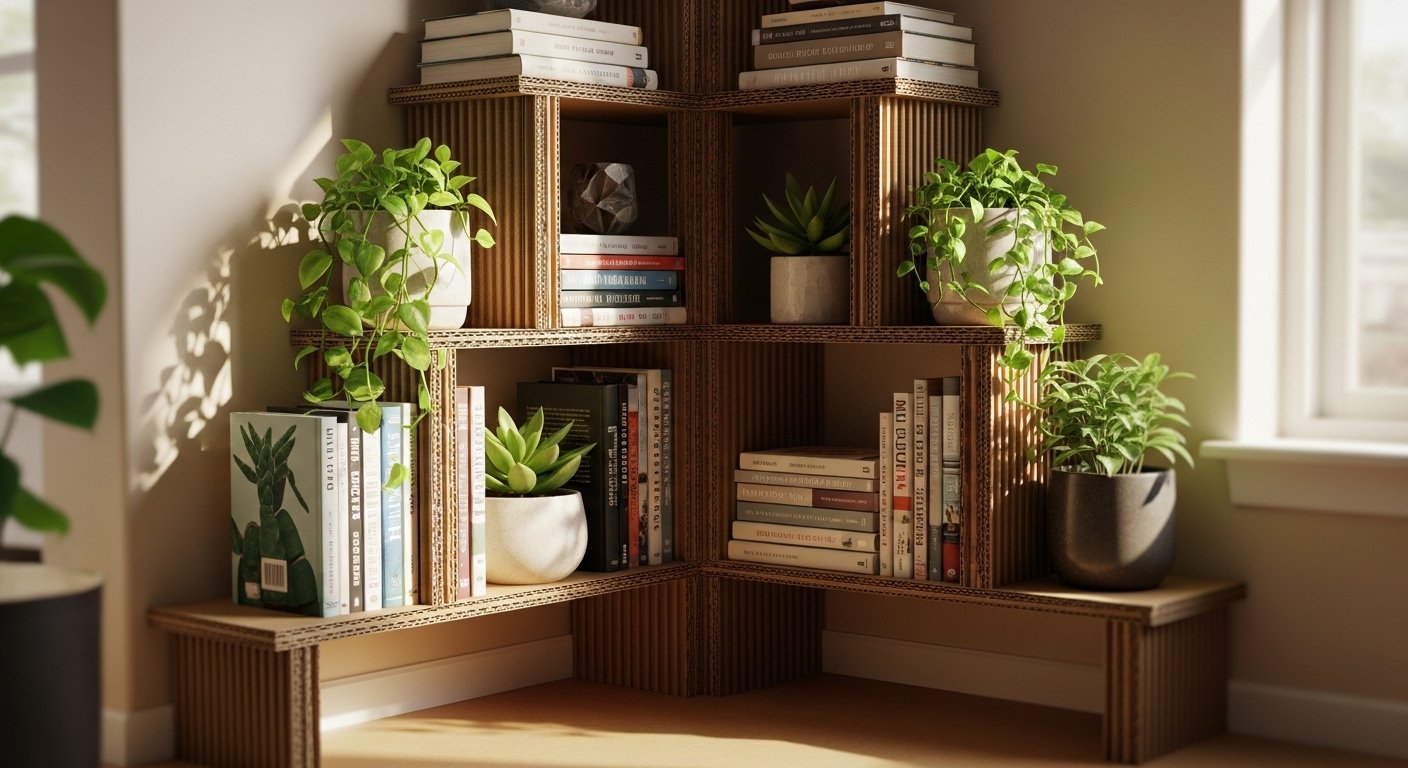
Little pops of green make cardboard feel intentional rather than temporary. I added faux-leaf contact paper to one of my shelves and suddenly it looked like a thrifted find, not a makeshift hack. Try it with real plants if you’re brave – just line the shelf with a waterproof tray first.
Box-Into-Shelf Hack
This is basically turning a box sideways and using internal flaps as dividers – genius for tiny kitchens or craft supplies. I used it on my desk to sort washi tape and pens, and it made a world of difference. Also, hey, this one’s great if you hoard boxes like I do.
Minimal Open Plywood Look
Okay so this one mixes cardboard with thin plywood strips for reinforcement – it’s a hybrid trick that gives you clean lines. I borrowed this idea when I needed sturdier book storage and the plywood made everything feel legit. You can totally fake the wood look with paint if you want a full cardboard setup.
Stacked Box Display
Stacking open boxes is the fastest way to make a floor-to-ceiling system without tools. I once stacked four and then realized I loved the asymmetry, so I staggered them and added plants in the gaps – it felt artsy, not lazy. Just zip-tie or glue the backs if you have pets who might explore.
Arrow-Labeled Storage
Those little black arrows are cute and practical – they make everything look curated. I labeled boxes “sew,” “craft,” and “papers” and felt shockingly organized for about five days. If you’re like me, this is a good motivation hack to actually stop shoving things into a bin.
Double-Sided Corner Shelf
This corner unit opens up a room by using two faces for display – doubled storage, less clutter. I built a tiny version for my bathroom to hold skincare and it felt luxurious for $5 in materials. Corners are underrated, promise you’ll use every inch.
Modular Box System
Modular systems let you rearrange as needs change – I love that flexibility because my space is constantly evolving. One week it’s a shoe rack, the next it’s a plant shelf; you get the idea. The trick is to make each module sturdy enough to move without collapsing.
Playful Cutout Organizer
Cutouts turn plain cardboard into a sculptural piece that feels intentional. I attempted heart shapes once and ended up with lopsided hearts – cute though, so I kept them. If you’re precise, this can be a super stylish focal point for a small wall.
Large Compartment Shelf
When you need real capacity, build larger compartments with internal supports and extra glue. I made a wide unit for my record collection and it handled the load better than expected – that was a delightful surprise. You might need a couple of clamps, but it’s worth the effort.
Retail-Style Storage Boxes
These look like the kind of corrugated units you see in pop-up shops, and they’re surprisingly neat for closets. I used them in my hall closet for scarves and hats, and guests assumed they’d been bought. Pro tip: uniform size makes everything look more intentional.
Quick Carry Crate
Handy for moving small things around, a crate-style box with handles is dumbly practical. My partner and I used a few to move plants to the balcony and they worked like champs – I probably overpacked a couple, oops. Handles make these a must for active spaces.
Center-Stacked Display
Stacking in the middle of a room can create a temporary room divider with personality. I did this during a living room rearrange and loved the sculptural effect, even though my cat thought it was a new playground. If you want to show off curated items, try lighting the stack from above.
Newspaper-Lined Shelves
Lining boxes with old newspaper or patterned paper hides the corrugation and feels crafty in a good way. I used some vintage paper I found at a flea market and people asked where I got the shelves – score. Just tape the edges carefully so it doesn’t peel over time.
How to Actually Make This Work For You
Start by being honest about what you actually need to store – small trinkets, books, plants, or heavy items all demand different reinforcement tricks. If it’s lightweight decor, a single-layer cardboard shelf dressed with contact paper or paint looks intentional and can last, but for books or anything heavier, glue and internal ribs are your best friends; layer multiple sheets, add triangular braces in corners, or insert thin strips of plywood behind the cardboard for discreet support. Try to test one module first – build a small prototype, load it up, and live with it for a week to see if it flexes or sags; you’ll save time and glue that way. When you hang cardboard on walls, secure it to studs when possible or use reliable picture-hanging hardware and back the cardboard with a thin hardboard to distribute weight evenly. Lastly, don’t be afraid to commit to a finish – chalk paint, a wood-grain contact paper, or fabric can make cardboard read as design-forward instead of makeshift, and that finish often determines whether the piece looks like a charming DIY or a temporary hack.
Are cardboard shelves sturdy enough for books?
They can be, but it’s all about reinforcement – single sheets won’t cut it for heavy books. Use multiple layered sheets, add internal ribs, or combine with thin plywood to safely hold collections.
How do I protect cardboard shelves from moisture?
Seal the cardboard with a waterproof layer like contact paper, polyurethane, or even a good primer and paint job. For plants, always use a tray or saucer between the pot and shelf to prevent damp spots.
Can I hang cardboard shelves on the wall?
Yes, you can, but you should back them with a rigid board or attach them to a wooden frame that mounts to studs. Lightweight items are safer hung directly, while heavier loads need better anchoring and weight distribution.
What tools and supplies do I actually need?
Basic supplies include a sharp utility knife, a metal ruler, strong packing tape or wood glue, clamps if you have them, and optional contact paper or paint for finishing. Simple tools go a long way – no fancy gear required.